Wild Yeast Sourdough Starter Recipe:

Looking to buy bread at the grocery store, and seeing it was sold out at the time, I next moved on to looking for yeast. Thinking well I'll just make bread myself, and the yeast was sold out! After a few shopping trips at multiple stores I did indeed find yeast and eventually bread, but I was then inspired to start my own yeast to have on hand as well. An abundance of herbs and the cool spring weather fuelled the desire to bake as well.
What you need:
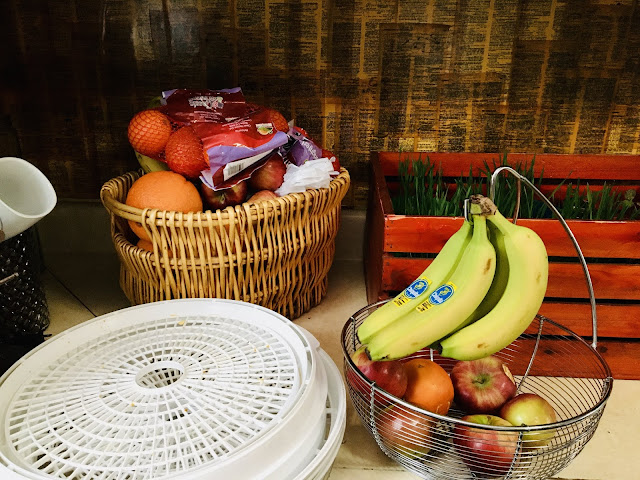
- Pineapple juice
- Flour
- Water
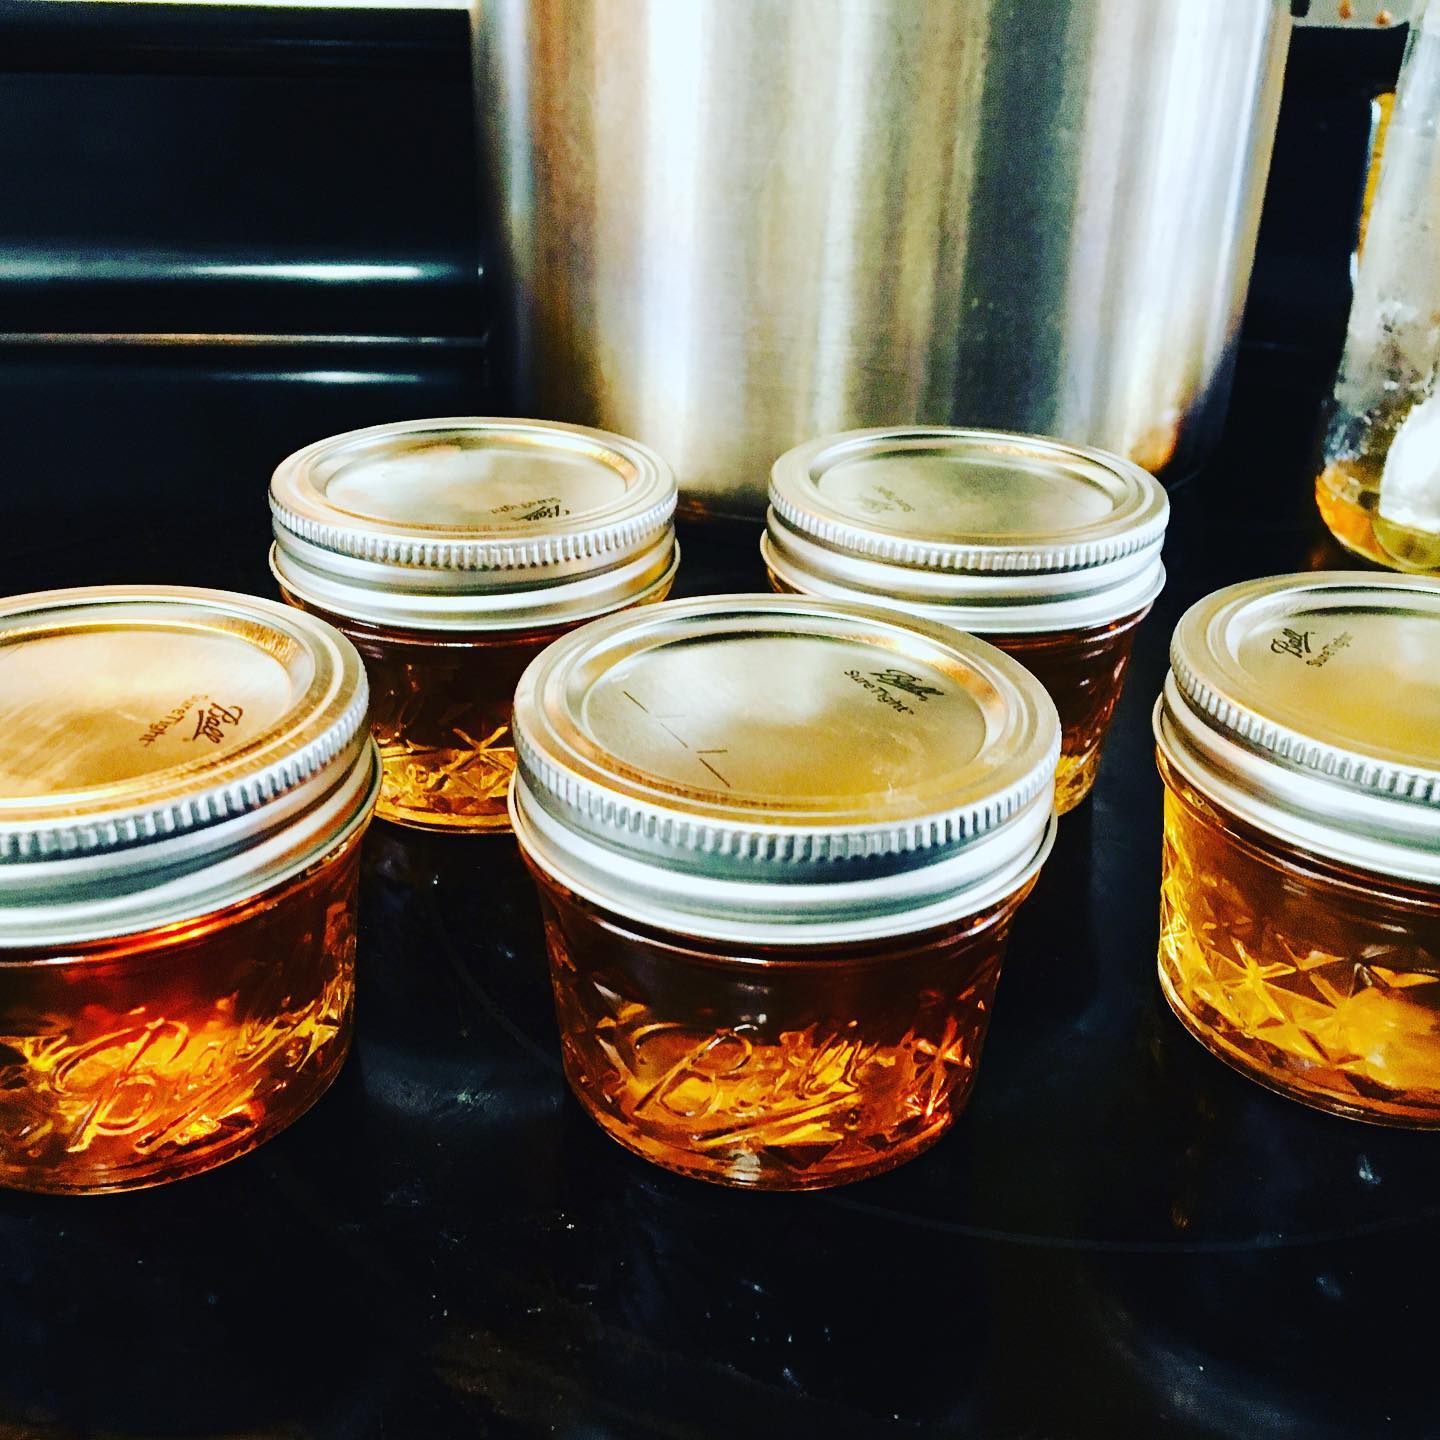
- Mason Jar
How to:
- Keeping at room temperature, Mix 2 tbsp of Pineapple Juice and 3 Tbsp Flour in a Mason Jar.
- Stir the mixture 3 times in 24 hrs.
- After 24hrs, add 3 Tbsp of Flour and 2 Tbsp of water.
- Stir the mixture 3 times in 24 hrs.
- Repeat steps 3 and 4 for 5 days. Yeast should start forming after that, creating bubbling.
Ongoing Maintenance:
- Discard half, use in a recipe.
- If you plan on using a lot of yeast you can leave it at room temperature to grow faster while feeding it daily/or you may keep it in the fridge, feeding once weekly to make about enough for weekly use.
- ...And to Feed:
- After discarding half of the mixture, fill mixture amount back with equal amounts in weight of water and flour(2 parts water and 3 parts flour). Place the mixture in the fridge.
- If your mixture starts to have an unpleasant smell or shows growth of mold, toss immediately and start again new.
- If your mixture accumulates access liquid, poor the excess liquid out and add more flour to feed it in the future.
- If you are going to substitute dry yeast in a recipe for your wild yeast sourdough starter: Substitute 1 cup of starter for a package of dry yeast, then subtract 1/2 a cup of water and 3/4 cup of flour from your recipe.
All DIY projects shown on LittleLakeviewConservatory.com are purely "at your own risk". As with any DIY project, unfamiliarity with the tools and process can be dangerous. Posts should be construed as theoretical advice only. If you are at all uncomfortable or inexperienced working on these projects (especially but not limited to electronics and mechanical), please reconsider doing the job yourself. It is very possible on any DIY project to damage your cottage, void your property insurance, create a hazardous condition or harm or even kill yourself or others.
Little Lakeview Conservatory LLC will not be held responsible for any injury due to any featured DIY project.
Little Lakeview Conservatory, LLC
Please feel free to contact us at LittleLakeviewConservatory@gmail.com be added to our email list or with any questions, requests and comments.
Little Lakeview Conservatory, LLC * Grow a little!™


